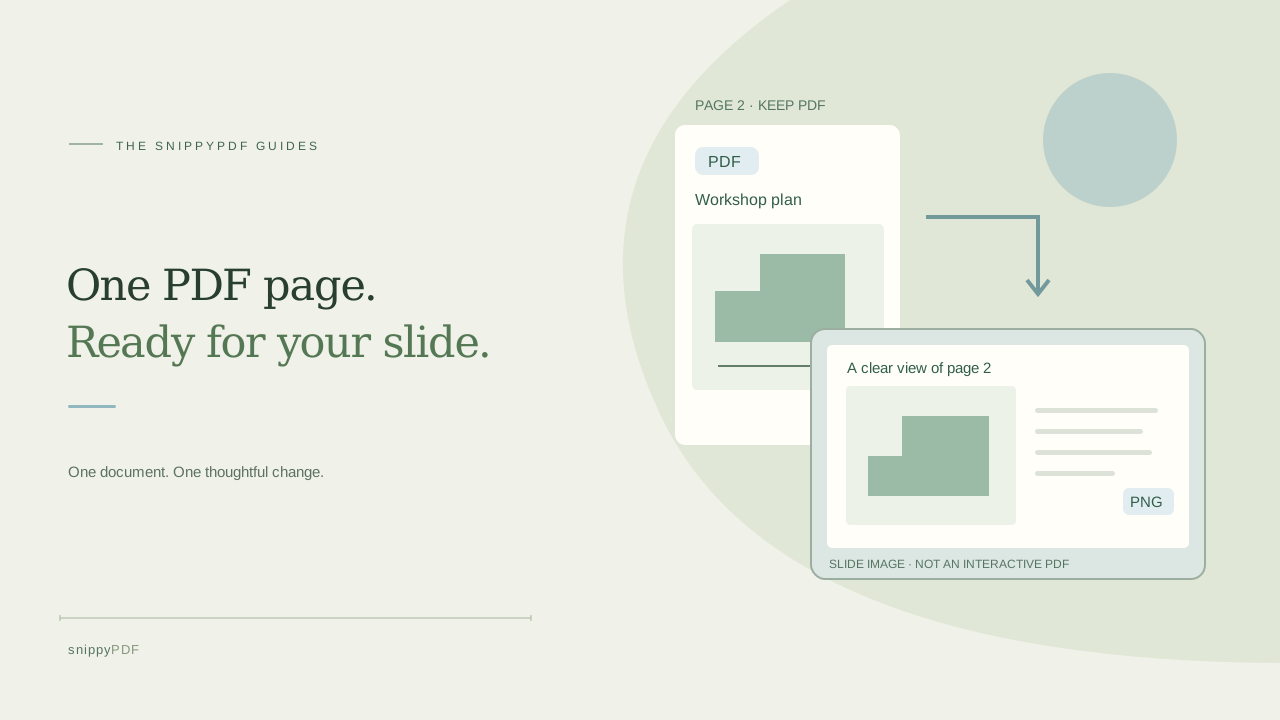
Choose the PDF pages you need, save them as PNG images, and check legibility in your slides while keeping the original PDF and review notes.
Choose an image when the task calls for a picture
Imagine a student presenting page 2 of a fictional workshop plan, or a freelancer showing a layout in a client presentation. A PNG can place that page on a slide without asking the audience to open another file. It is a picture of the page, not an editable PDF: selectable text, working links, bookmarks and interactive comments do not travel with it. If the recipient needs to search the document, follow links or respond to review notes, send the appropriate PDF as well. Confirm that you have permission to reproduce its contents and keep private details out of public slides.
Keep the source PDF and prepare a supported copy
Save the original PDF in a folder you control before opening SnippyPDF’s Review PDF tool. Choose a nonsensitive working copy, such as workshop-plan-r02.pdf. The tool accepts supported PDFs up to 25 MiB and 100 pages; encrypted files, digital signatures, interactive forms and active actions are refused. Do not remove a signature or security restriction to force a document through. Ask its owner for a suitable presentation copy instead. The page conversion runs in your browser; keep the original because an exported image cannot preserve all of a PDF’s functions.
Select page numbers rather than exporting the whole document
Find the PDF pages to PNG section. In Image pages, enter the pages you need: for example, 2,5-6 selects pages 2, 5 and 6. The numbers refer to the file’s page positions, which may differ from page numbers printed on the paper. Selection is processed in ascending page order, so do not use this field to design the order of a presentation. A blank selection means all pages only when the document fits the 20-page batch limit. Select a smaller range for a longer file, and avoid generating pages that are not relevant to the audience.
Prepare the PNG files and save each result
Choose Prepare watermarked PNGs for the free version. Once processing finishes, the tool lists the resulting page images below; save each selected page with its download control. This workflow produces individual PNG files, not a finished slide deck. The free images carry the trial watermark. Prepare clean PNGs requires valid authorized export access; a paid pass has its own document scope and duration, so review the pass rules before relying on it. Check the actual saved file rather than assuming a prepared thumbnail has already been downloaded. Keep an informative name such as workshop-plan-page-02-r02.png.
Check the image at the size your audience will see
Pages render at up to 200 DPI, with page-size, pixel and memory limits; a large page may be rendered at a lower resolution. Converting a blurry scan does not restore missing detail. Open the saved PNG, then place it in a slide without stretching its proportions. Check small labels and numbers at the intended display size. A full portrait page on a wide slide can become too small to read: use an appropriate detail view or split the explanation across slides in your presentation app. Keep a source reference and avoid cropping away a qualification that changes the meaning.
Keep review comments and accessible context separately
Visible page marks may appear in the rendered picture, but a PNG does not retain an interactive PDF note, its popup or the original selectable text. If you added review feedback, download and verify the reviewed PDF separately when those comments matter. Add a concise caption and useful alternative text in the presentation app, and type essential labels or figures as slide text when the audience needs them. The converter does not create an accessible presentation for you. A highlight or a cropped image is also not secure redaction; use a suitable process before sharing sensitive information.
Reopen the files you will actually share
Compare each PNG with the correct source page: check its orientation, full content, diagram labels, any watermark and the absence of an accidental blank page. Reopen the saved presentation too, because a correct image can still be hidden behind another slide object or made unreadable by resizing. Keep the original PDF, the chosen PNG files and the presentation as separate items with clear revision names. If you later combine JPG or PNG images into a PDF, they remain page images unless you deliberately use and review a supported OCR workflow; that round trip does not restore the original PDF text, links or comments.
See supported PDFs · Try the watermarked editor preview
More practical guides
- How to recognize English and Spanish text in the same document photo
- How to split selected PDF pages into separate files
- Turn a paper checklist photo into a PDF you can reuse
- How to rotate one page in a PDF and save the change
- How to insert a photo page into an existing PDF
- How to put front and back photos in one PDF
- How to extract nonconsecutive pages into one PDF
- Make document photos searchable in a PDF without rewriting the page
- Fix sideways document photos before making a PDF or running OCR
- Edit grouped text in a PDF online: a fictional DoorDash receipt example
- A4, Letter or Fit image: which PDF page size should you choose for photos?
- How to check numbers after turning a document photo into a PDF
- How to turn iPhone HEIC photos into a PDF without converting them first
- How to type on a blank line in a PDF without changing the sentence
- How to make a working copy of a scanned PDF without losing your original
- How to photograph a paper document for a readable PDF
- How to make a photo-heavy PDF smaller and check the result
- How to add notes and highlights to a PDF
- How to check the edition of a USCIS PDF form
- How to turn phone photos into a PDF you can annotate
- How to correct words in a PDF made from a photo
- How to update a workplace checklist in a PDF
- How to keep PDF quotes and revisions organized
- How to correct a student project cover page in a PDF
- How to check names and accents when editing a PDF
- How to prepare a PDF before signing it
- How to edit existing PDF text without changing the surrounding sentence
- How to replace a PDF image without stretching it or covering nearby text
- Why PDF text will not edit: check the font, text layer and scan
- PDF editing preview versus clean export
- Why a detected PDF font may change when you edit the wording
- Before you send an edited PDF: a practical download-review checklist
- Saved draft or downloaded PDF? How to keep your edits and original
- How to assemble and check an organized PDF packet