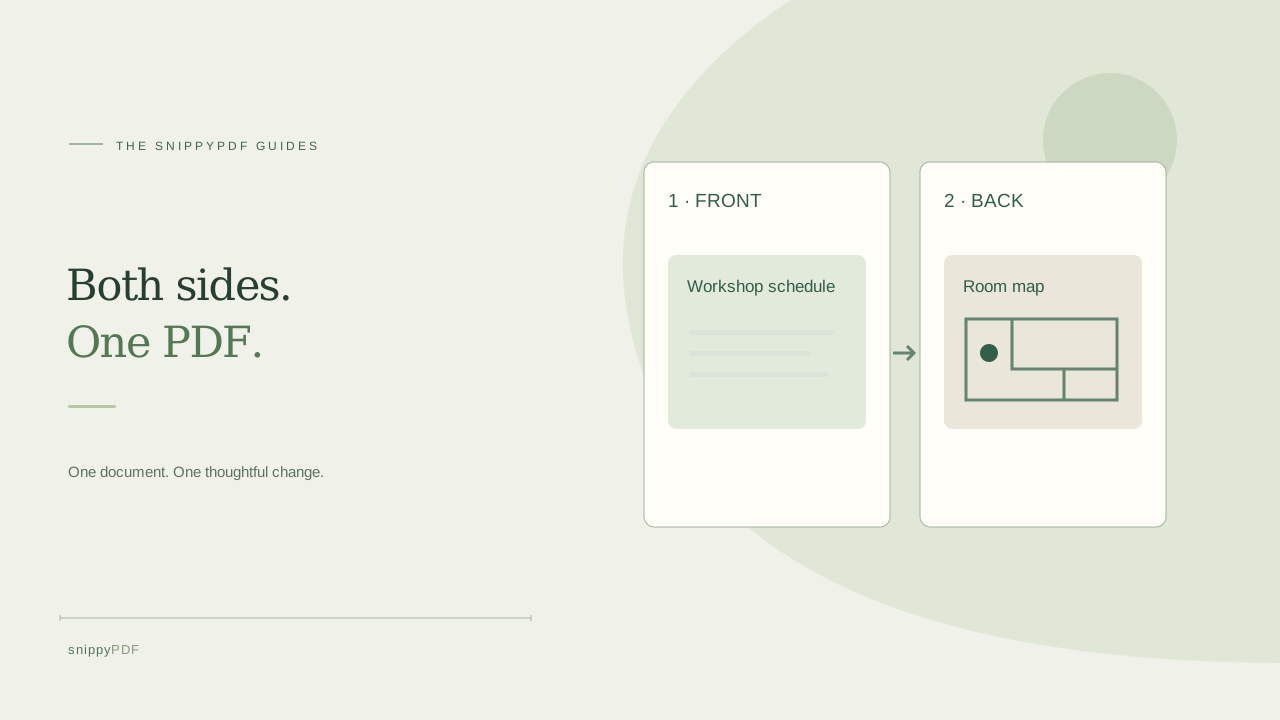
Make a two-page PDF from photos of both sides, check their order and orientation, and verify the downloaded copy.
Decide which sides belong in the file
Imagine a workshop hands you a card with the schedule printed on the front and the room map on the back. You need to send both sides in one attachment. Check whether the recipient wants one PDF, two separate files, or a different format. For residence or citizenship paperwork, follow the current instructions for the specific upload or filing method. This workflow simply prepares a two-page copy from photos. Use a blank practice card to learn the controls before working with personal documents.
Take two photos with all four edges visible
Photograph the front and back separately on a flat surface. Hold the camera parallel to the card and move the light if a glossy surface reflects it. Check small print, page edges and any writing near the corners before turning the card over. Keep the photos separate so each side has enough space to be read when zoomed. If the back is blank, include it only if the recipient asks for it. Keep the original photos so you can compare them with the finished PDF.
Add the photos and check the page order
Open Images to PDF and choose the two JPG, PNG or HEIC images. The tool puts one image on each PDF page and fits it without cropping. Look at the thumbnails to identify each side, since a phone gallery can show the newest photo first. Use Move up or Move down to put the front before the back. If the back is upside down after you flip the card, rotate that image and check its thumbnail. Remove any accidental duplicates before downloading.
Choose page dimensions that keep both sides readable
Use A4 or US Letter if you want both pages on the same paper size. Choose Portrait or Landscape based on the card’s shape and check the amount of white space around it. Fit image follows each image’s dimensions and can produce different page sizes if the photos have different proportions. If one photo includes far more background than the other, retake it closer while keeping every edge visible. That gives the card more room on the PDF page.
Use OCR if the recipient needs to find words
For a visual copy, you can download the two images without running recognition. If someone needs to search for a room name or schedule entry, recognize both images and enable the searchable layer before downloading. Compare the recognized words with the photos, especially small print on the back. OCR can miss words or read them incorrectly. The searchable layer helps a reader find words while preserving the visible photos. Leave photo-word replacement unused when you want a faithful copy of the printed sides.
Check the saved PDF before sending
Open the downloaded PDF and confirm that page 1 shows the front and page 2 shows the back. Zoom in on each corner and check that the small text still reads clearly. If you enabled OCR, try one search from each page. Give the file a name such as workshop-card-both-sides.pdf so it is easy to find among the original photos. Trial downloads are free and watermarked. For a copy without the watermark, use an eligible paid pass or discount. Check the recipient’s format and size requirements before sending.
See supported PDFs · Try the watermarked editor preview
More practical guides
- How to recognize English and Spanish text in the same document photo
- How to split selected PDF pages into separate files
- Turn a paper checklist photo into a PDF you can reuse
- How to rotate one page in a PDF and save the change
- How to insert a photo page into an existing PDF
- How to extract nonconsecutive pages into one PDF
- Make document photos searchable in a PDF without rewriting the page
- Fix sideways document photos before making a PDF or running OCR
- Edit grouped text in a PDF online: a fictional DoorDash receipt example
- A4, Letter or Fit image: which PDF page size should you choose for photos?
- How to check numbers after turning a document photo into a PDF
- How to turn iPhone HEIC photos into a PDF without converting them first
- How to type on a blank line in a PDF without changing the sentence
- How to make a working copy of a scanned PDF without losing your original
- How to photograph a paper document for a readable PDF
- How to make a photo-heavy PDF smaller and check the result
- How to turn PDF pages into PNG images for a presentation
- How to add notes and highlights to a PDF
- How to check the edition of a USCIS PDF form
- How to turn phone photos into a PDF you can annotate
- How to correct words in a PDF made from a photo
- How to update a workplace checklist in a PDF
- How to keep PDF quotes and revisions organized
- How to correct a student project cover page in a PDF
- How to check names and accents when editing a PDF
- How to prepare a PDF before signing it
- How to edit existing PDF text without changing the surrounding sentence
- How to replace a PDF image without stretching it or covering nearby text
- Why PDF text will not edit: check the font, text layer and scan
- PDF editing preview versus clean export
- Why a detected PDF font may change when you edit the wording
- Before you send an edited PDF: a practical download-review checklist
- Saved draft or downloaded PDF? How to keep your edits and original
- How to assemble and check an organized PDF packet